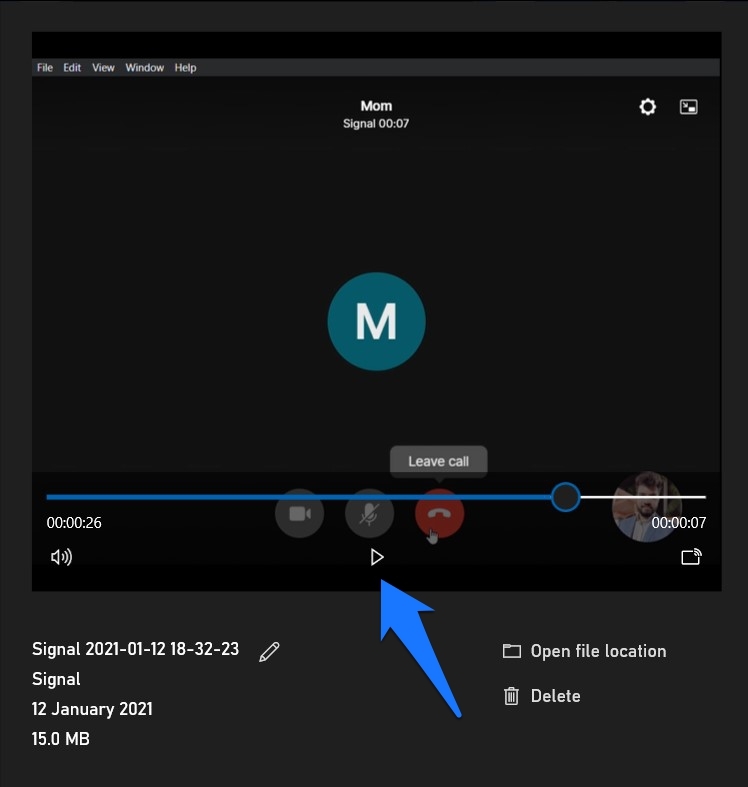
For the unawares, this app beholds all the important features that WhatsApp has to offer. These include end-to-end encrypted chats, the ability to send media files, and the ability to make voice and video calls. Talking about which, it also has an option to route your calls via its own server. This feature, known as Signal Relay, will make your IP address invisible to the recipient. While the audio quality isn’t as great as compared with normal Signal calls, yet some users are ready to trade off performance with security. With that said, there’s another pretty important query brewing up among users: how to record voice calls via Signal. If you also echo this question, then this guide is here to help you out. Follow along with the detailed instructions.
How to Record Voice Call on Signal App?
Well, the app doesn’t have any native option to record your voice calls. So this then leaves us with two alternatives: use a voice recorder app on your smartphone or on your PC. Let’s try out both these approaches.
Method 1: Via Recorder App on your Mobile
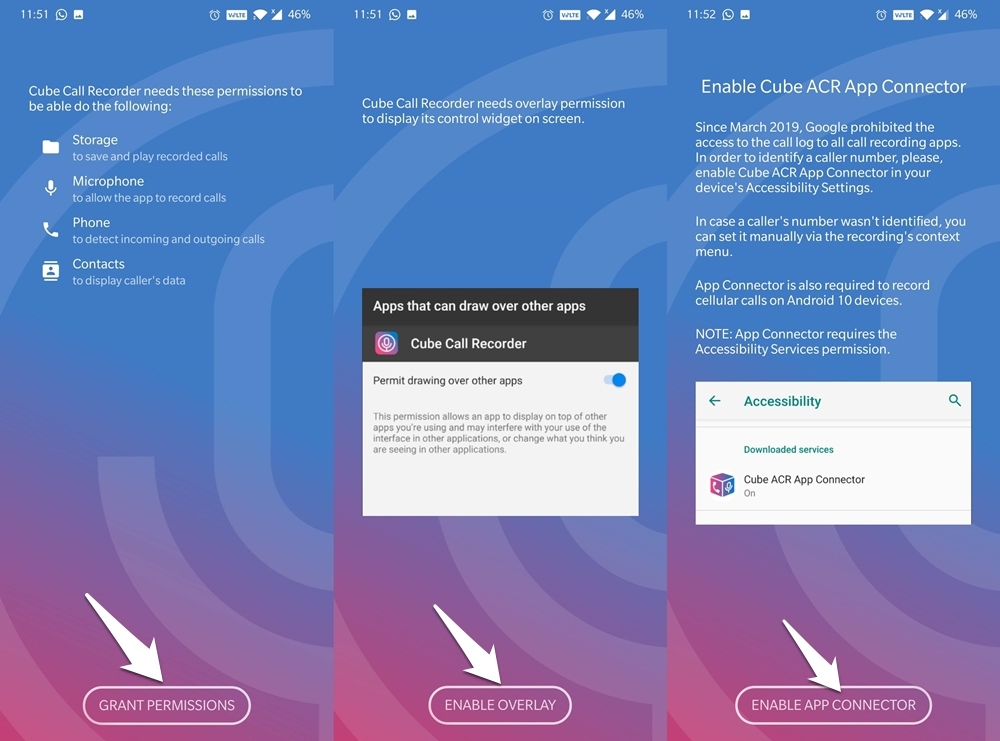
Some OEMs comes baked-in with the call recording functionality. So head over to the app drawer on your device and check for the Voice Recorder/Recorder/ Call Recorder app. If your device doesn’t have one, then you could also download the same from the Play Store/App Store. Likewise, you could also use a screen recorder app for this purpose. As for this guide, we tried out the Call Recorder – Cube ACR application and it managed to easily record all our Signal Voice Calls. Here are the Simple Steps to Download and Record Signal Voice Calls Using Cube ACR Call Recorder App Step 1. Download and install the Call Recorder – Cube ACR app from Play Store. Step 2. Now launch the app and grant it all the necessary Permissions. Along with basic permissions, it will ask for Overlay and Accessibility Permissions.
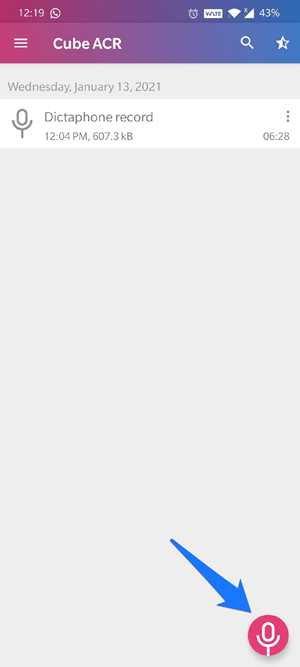
Step 3. Once that is done, hit the Microphone icon situated at the bottom right. The recording shall now start.
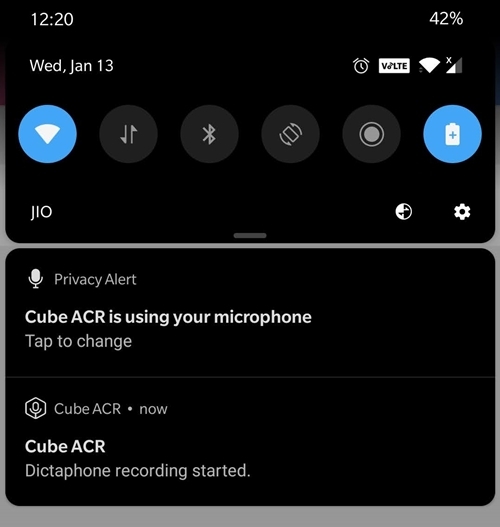
Step 4. You could also keep a track of the same from the Notification Panel as well.
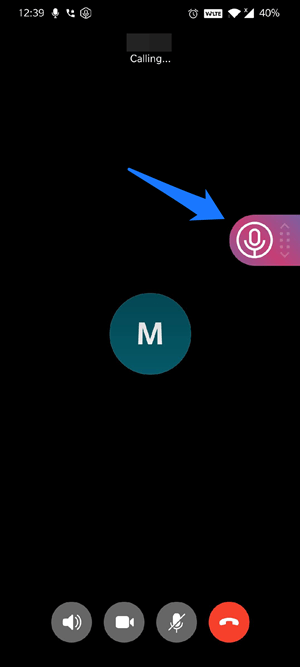
Step 5. Now open the Signal app and Start the Call with the intended recipient. Step 6. Once you are done with the call, tap on the microphone icon present in the Call Recorder’s overlay screen. This will stop the recording.
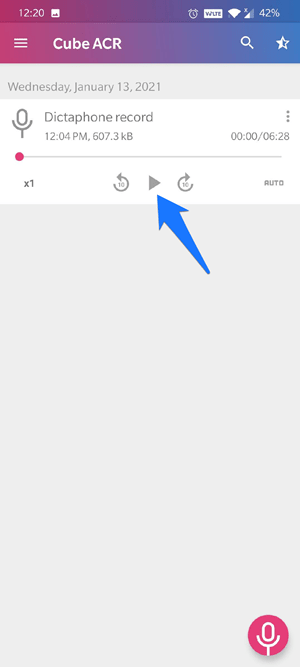
Step 7. Finally, launch the Cube Recorder app and it will display the recent recorder call. Just tap on it and hit the Play button.
That’s it. These were the steps to record Signal Voice Calls on your smartphone. Let’s now turn our attention towards how this could be achieved on the Signal Web version. Note: In my testing, I tried other options: the default call recorder app, a third-party call recorder, and a built-in screen recorder. Unfortunately, none of them were unable to record the call. Only Cube ACR with Accessibility Access was able to record the VoIP Call.
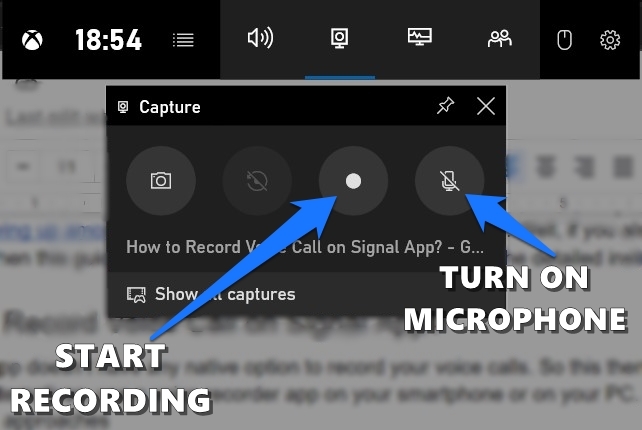
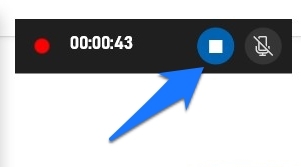
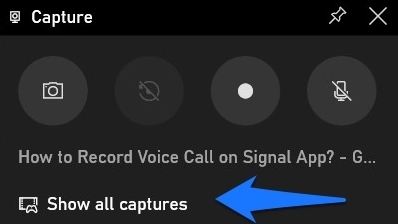
Method 2: Recording Signal Calls on PC
Conclusion: So it turns out that although we weren’t able to record calls on the Signal mobile app, there weren’t any such issues with its web version. Hence if you wish to carry out the aforementioned task, it is better to stick with Signal’s PC variant itself as of now. With that said, do let us know in the comments if you were able to spell out success in recording Signal calls on your smartphones. If you’ve any thoughts on How to Record Voice Call on Signal App?, then feel free to drop in below comment box. Also, please subscribe to our DigitBin YouTube channel for videos tutorials. Cheers!
